Table of contents
No headings in the article.
Hi Everyone! Welcome back
Do you write code, but it is stored on the hard disk 🤔 ? You need to flex 💪 your code to the world. In this article, we will learn how to showcase the code with the help of git and GitHub.
git is the Version Control System which takes snapshots of the project at different versions whereas GitHub is a cloud-based platform that allows you to store git repositories and share them with the world.
Here, is a step-by-step guide to creating a git repo and then posting it on GitHub via git commands.
To install git click here
If you are setting git for the first time, need to add below configuration commands
- Configuring username mentioned on GitHub
git config --global user.name <username>

- Configuring email using which account is created on GitHub
git config --global user.email <email>

- Initializing git repo. Locate the path where the project is stored in the system on the terminal.
git init

- To check the status of files and folders
git status

- Add files/folders in the staging area.
git add <file_name>
To add all files and folders
git add.

- To change the branch
git branch -M main

- To commit (save) all the files/folders
git commit -m <commit message>
git commit -m 'file added'

GitHub
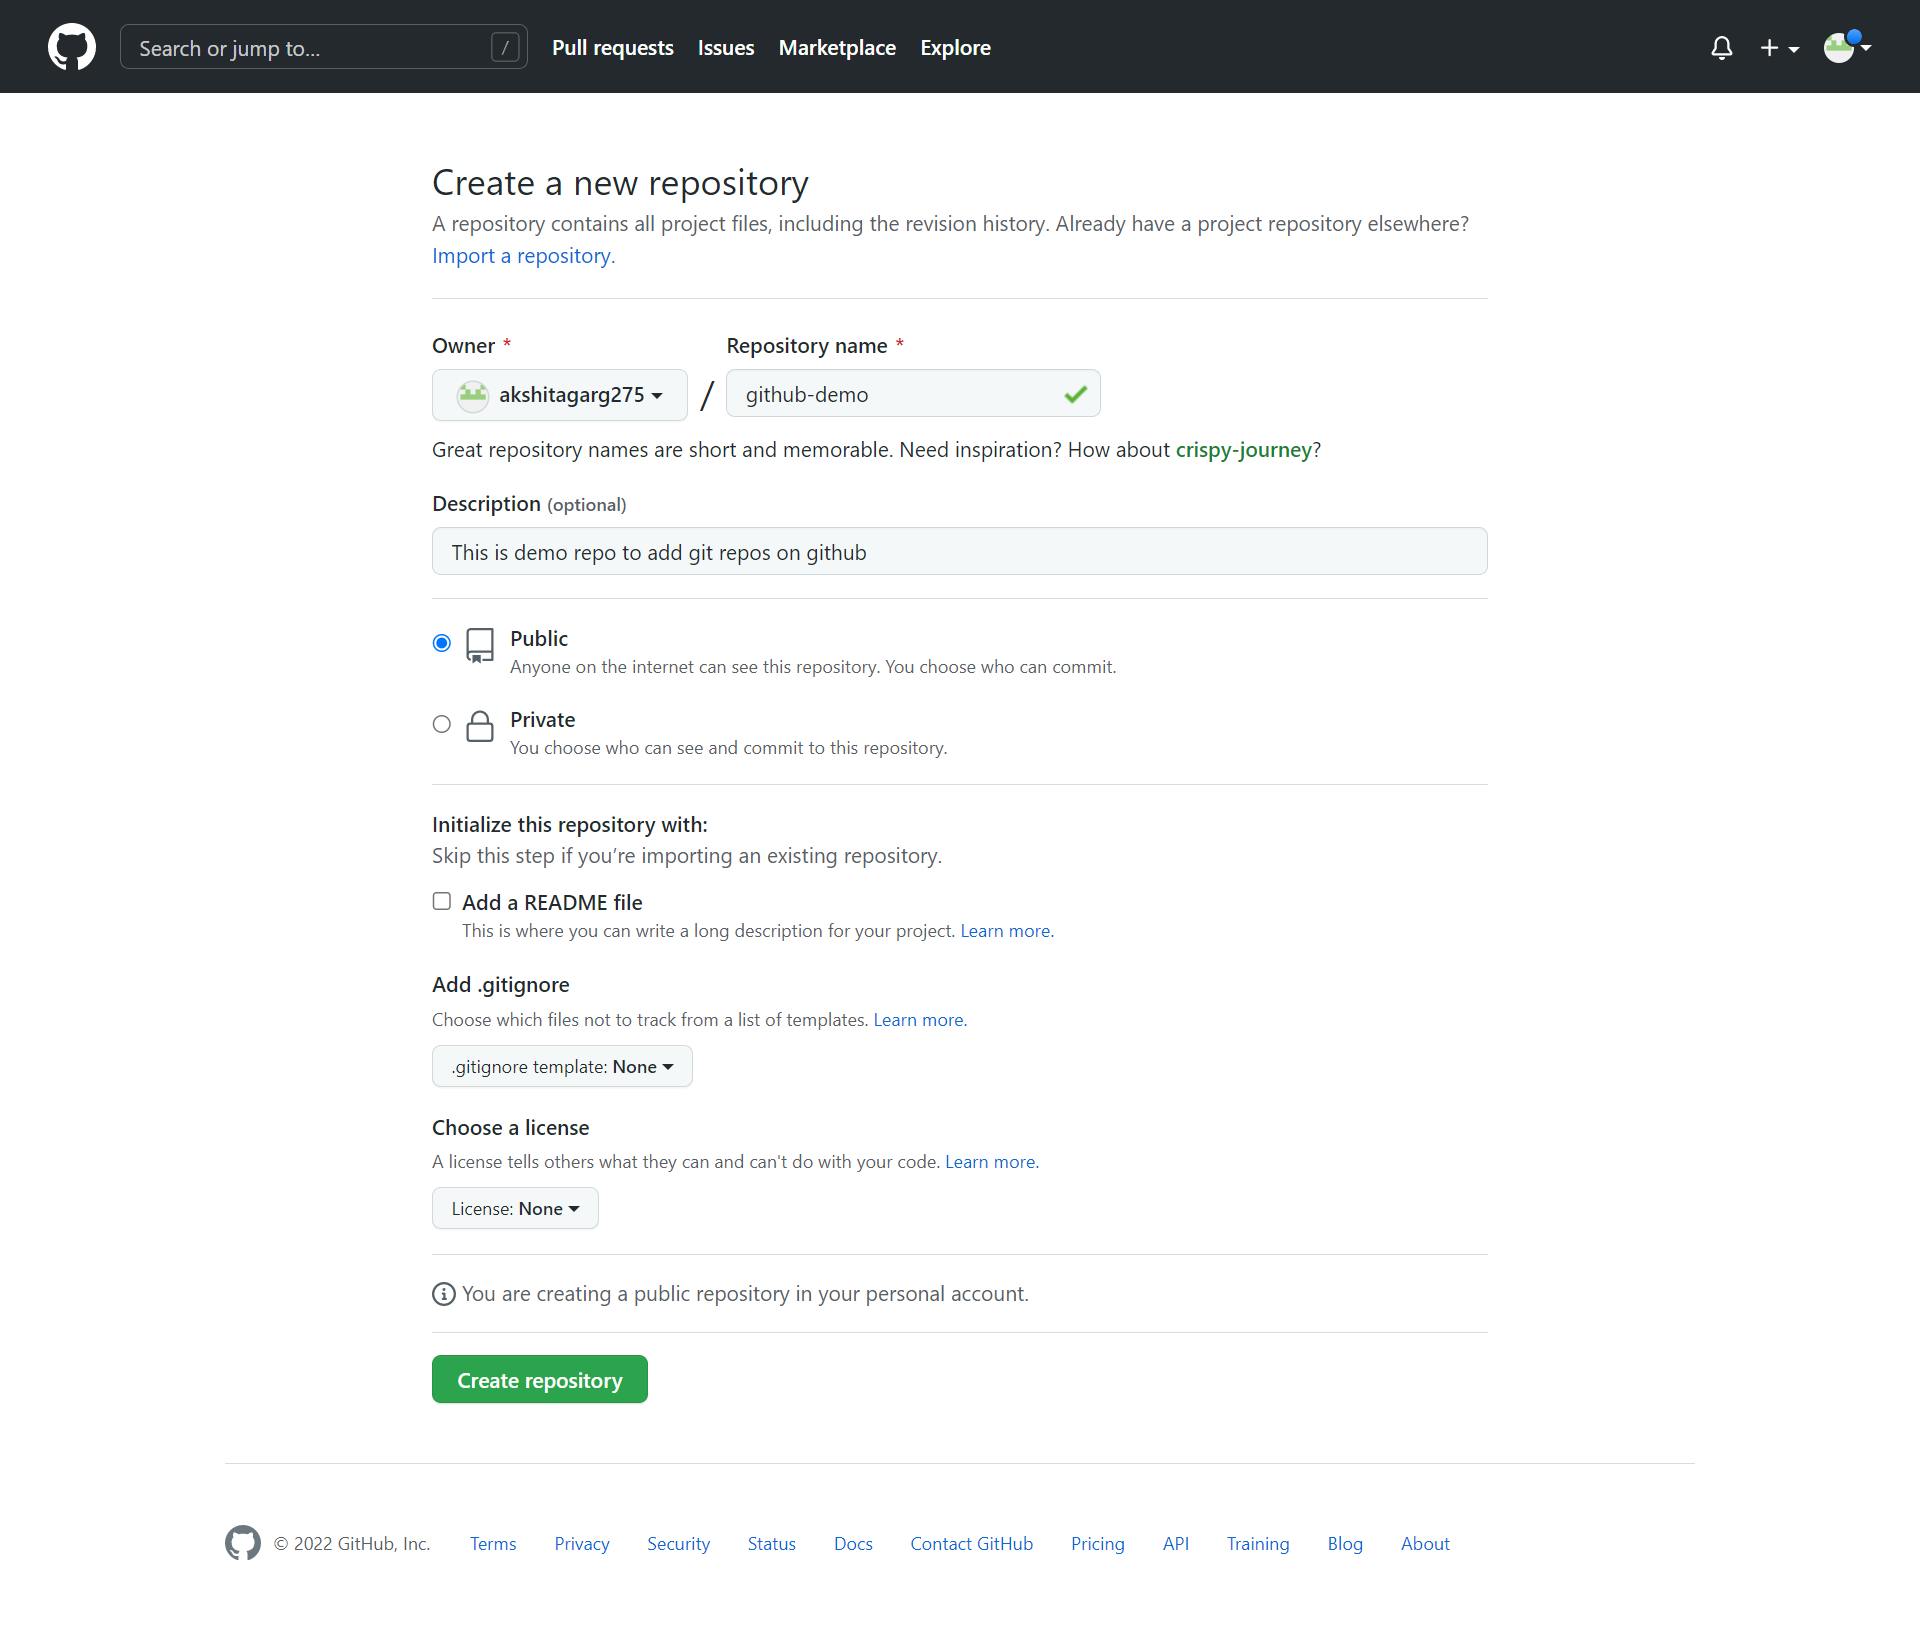
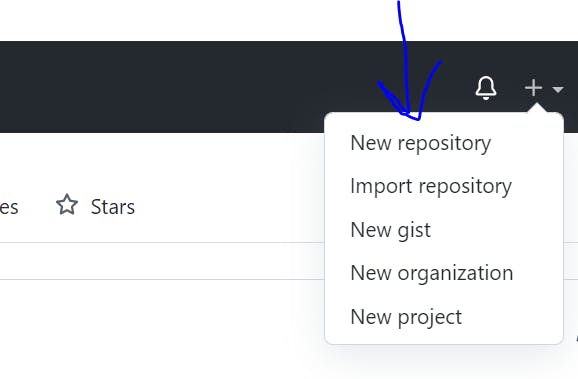
- Create a new repository on GitHub

- Now, we need to connect our git repo with GitHub. For each repository, we can a unique URL using which we can connect our git repo with GitHub.
- We will add a remote named origin to connect the
git remote add origin <GitHub repository URL>
 it repo and GitHub
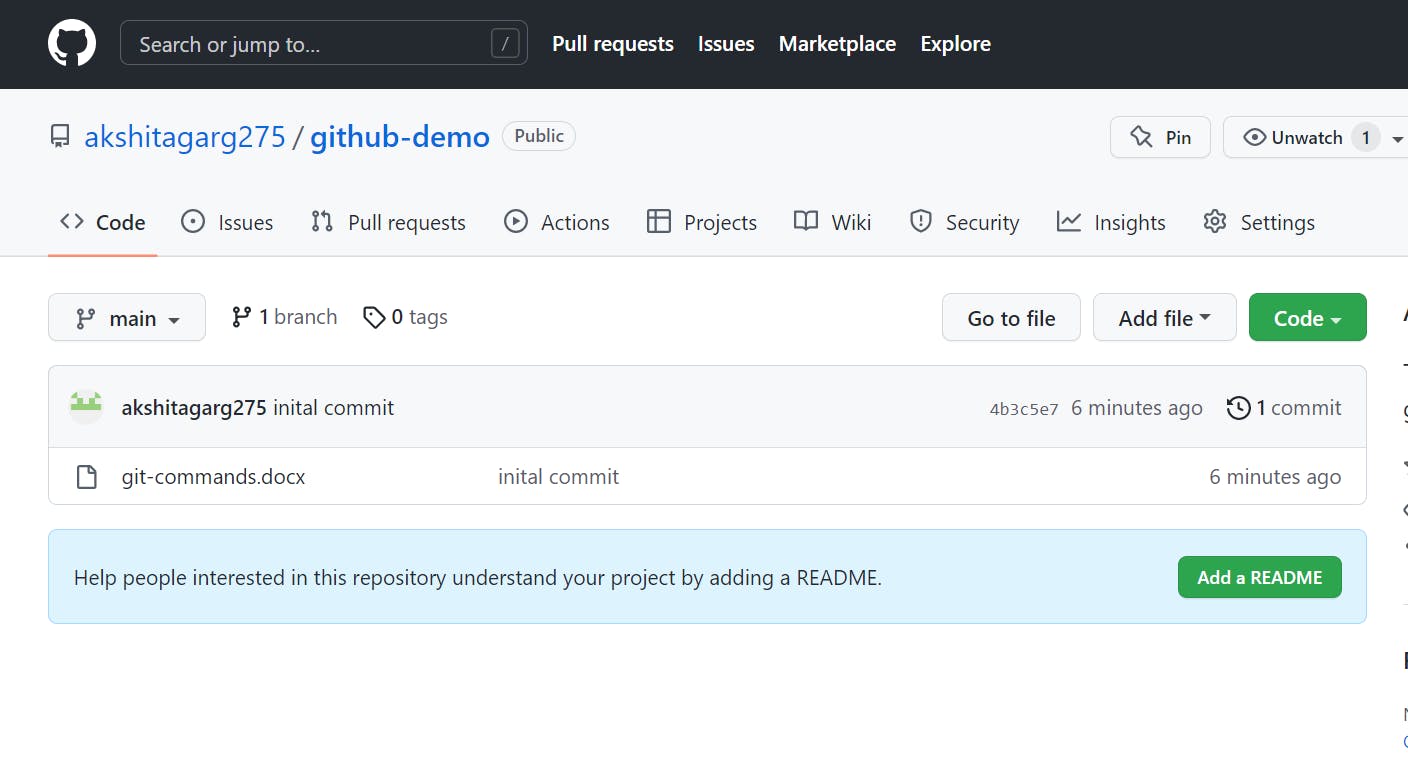
- We will push all the local git repo files to GitHub
git push -u origin <branch name>
git push -u origin main
- To check git logs
git log

These commands will help you in flexing your code!
Happy Learning ! 👩
Follow for more.
Do share.


