
I am a software developer as well as a mentor. Teaching is my hobby and coding is my passion. Working on various technologies related to web development.
Developed interest and started writing blogs.
Hi everyone! 👩 Welcome back.
While working with CSS, selecting the exact element to apply desired CSS properties is very important. In this article, we will discover different selectors used in CSS.
- Universal Selector(*): It selects all the elements inside the body tag. Universal selector matches elements of any type. CSS properties are written by selecting Universal selector(*) and are applied throughout the document.
Syntax:
*{ style property}
Example:
HTML
    <h1>This is a heading</h1>
    <p>Lorem, ipsum dolor sit amet consectetur adipisicing elit. Est, eaque.</p>
    <div>
        <p>Lorem, ipsum.</p>
    </div>
CSS
*{
    padding: 0;
    margin: 0;
    color: #B4161B;
}

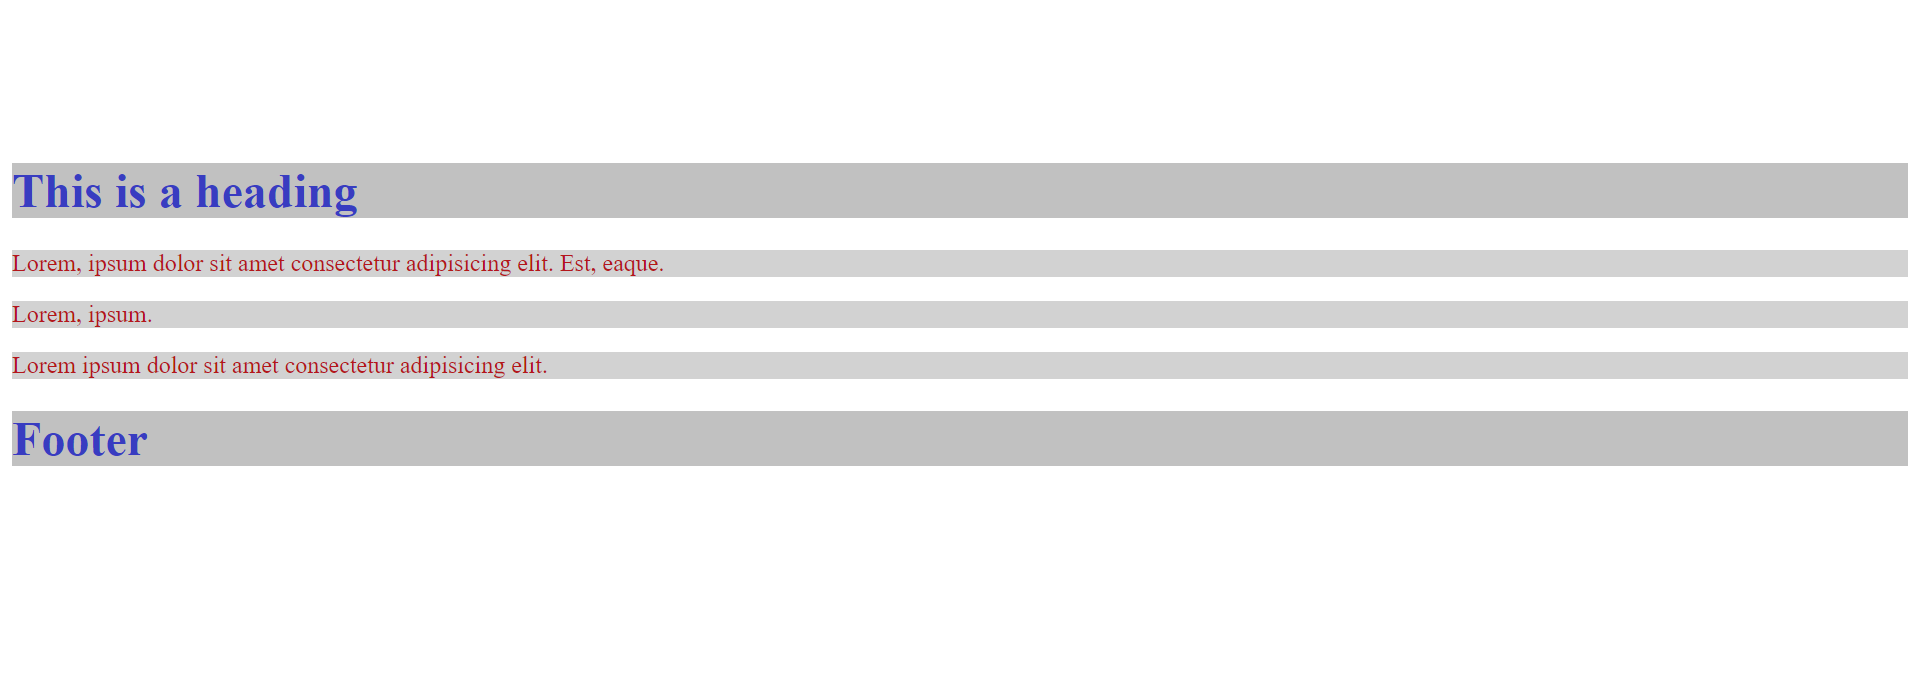
- Type Selector: Selects the particular element based on the tag name mentioned. All the similar tags in the document will be selected to have the CSS property.
Syntax
element/tag name { style property}
HTML
    <h1>This is a heading</h1>
    <p>Lorem, ipsum dolor sit amet consectetur adipisicing elit. Est, eaque.</p>
    <div>
        <p>Lorem, ipsum.</p>
    </div>

    <p>Lorem ipsum dolor sit amet consectetur adipisicing elit.</p>
    <h1> Footer </h1>
CSS
h1 {
    color: #383CC1;
    background-color: #c1c1c1;
}

p {
    color: #B4161B;
    background-color: #d2d2d2;
}
- Class Selector(.): It selects all the elements that have been given the class. Multiple elements can have the same class. A dot (.) is used to select a class in CSS.
Syntax:
.classname { style property }
HTML
    <h1>Working with the class</h1>
    <p class="blue">Lorem, ipsum dolor sit amet consectetur adipisicing elit. Est, eaque.</p>
    <div>
        <p class="red">Lorem, ipsum.</p>
    </div>

    <p class = blue>Lorem ipsum dolor sit amet consectetur adipisicing elit.</p>

    <ul>
        <li class="active">One</li>
        <li>Two</li>
        <li>Three</li>
    </ul>
CSS
.blue {
    color: #383CC1;
    background-color: #c1c1c1;
}

.red {
    color: #B4161B;
    background-color: #d2d2d2;
}

.active {
    font-size: 24px;
    color: #A77B06;
    font-weight: bolder;
}
- ID Selector(#): It selects all the elements that have been given the id. Usually, the distinct element is assigned the id. Hash(#) is used to select an id in CSS.
Syntax:
#idname { style property }
HTML
    <h1>ID Selector</h1>
    <button id = "click">Click Me</button>

    <button id="small">Small</button>
CSS
#click {
    font-size: 24px;
    color: #FFF;
    background-color: #E03B8B;
    border: none;
    padding: 20px 39px;
    border-radius: 10px;
    margin-right: 20px;
}

#small {
    font-size: 14px;
    color: #FFF;
    background-color: #242B2E;
    border: 2px solid #c1c1c1;
    padding: 15px 20px;
}

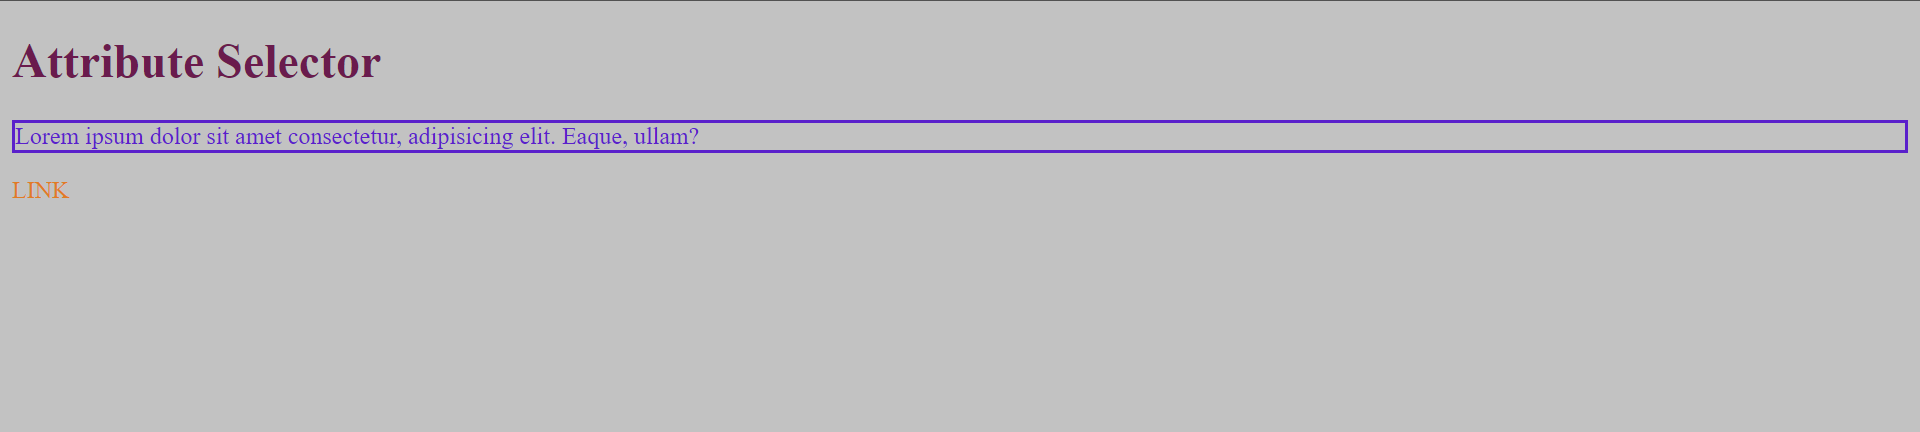
- Attribute Selector: It selects the element based on presence or value. Custom attributes can be used to apply CSS properties.
Syntax:
[attribute]
represents the element with the given attribute name. It acts as a custom attribute
[attribute = attribute_value]
represents the element having an attribute with the specific attribute value.
HTML
    <!-- title is a custom attribute -->
    <h1 title>Attribute Selector</h1>

    <!-- specific attributes -->
    <p data = para>Lorem ipsum dolor sit amet consectetur, adipisicing elit. Eaque, ullam?</p>

    <a href="#">Link</a>
CSS
body{
    background-color: #c2c2c2;
}

h1[title] {
    color:#6A1B4D;
}

p[data = para] {
    color: #5A20CB;
    border: 2px solid #5A20CB;
}

a[href="#"] {
    text-decoration: none;
    text-transform: uppercase;
    color: #E07C24;
}
Output
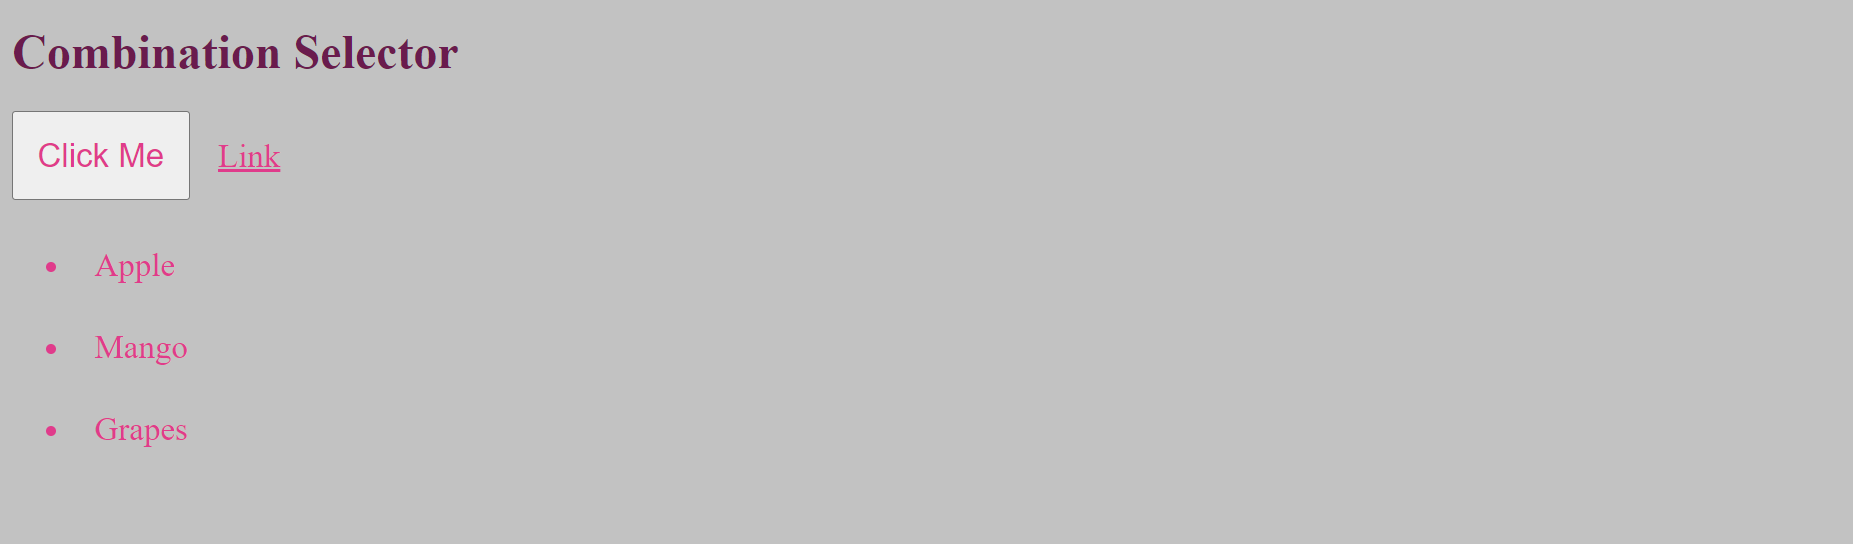
- Grouping Selectors(,) Comma(,) is the grouping selector. It allows you to provide multiple comma-separated elements and apply CSS properties to all of them.
Syntax
element1 , element2 { style property }
HTML
    <h1 title>Combination Selector</h1>
    <button >Click Me</button>

    <a href="#">Link</a>

    <ul>
        <li>Apple</li>
        <li>Mango</li>
        <li>Grapes</li>
    </ul>
CSS
body{
    background-color: #c2c2c2;
}

h1[title] {
    color:#6A1B4D;
}

button, li, a {
    color: #E03B8B;
    font-size: 22px;
    padding: 15px;
}
Output
- Combinators: Various combinations provided by CSS allow you to select a specific element and apply CSS property to it.
- Descendant Combinator: Space separated elements are written which represent parent child relationship. Framed in a manner that first selector is parent of another selector.
Syntax
selector1 selector2 { style property }
HTML
    <h1 title>Descendant Selector</h1>

    <div>
        <p>Lorem ipsum dolor sit amet consectetur adipisicing elit. Officiis, distinctio?</p>
    </div>

    <div>
        <span>Helloooo</span>
        <a href="#">Link</a>
    </div>
CSS
body{
    background-color: #c2c2c2;
}

h1[title] {
    color:#6A1B4D;
}

div p {
    color: #8D3DAF;
    border: 2px solid #8D3DAF;
}

div span {
    color : #E03B8B;
    border: #FFF dotted 2px;
}
Output

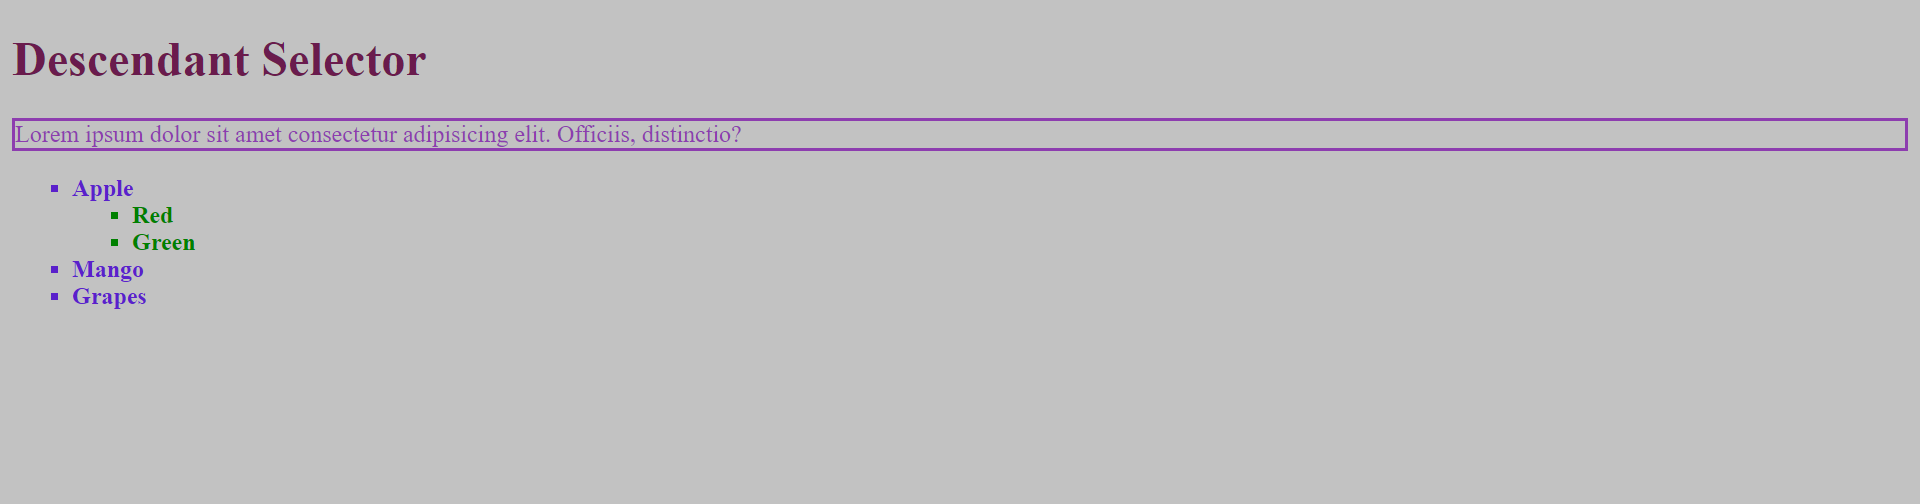
- Child Combinator (>) : Greater than arrow (>) is child combinator which selects direct child of the first selector.
Syntax:
Parent-selector > child-selector { style property }
HTML
    <h1 title>Descendant Selector</h1>

    <div>
        <p>Lorem ipsum dolor sit amet consectetur adipisicing elit. Officiis, distinctio?</p>
    </div>

    <ul>
        <li>
            Apple
            <ol>
                <li>Red</li>
                <li>Green</li>
            </ol>

        </li>
        <li>Mango</li>
        <li>Grapes</li>
    </ul>
CSS
body{
    background-color: #c2c2c2;
}

h1[title] {
    color:#6A1B4D;
}

div > p {
    color: #8D3DAF;
    border: 2px solid #8D3DAF;
}

ul > li {
    list-style: square;
    color: #5A20CB;
    font-weight: bold;
}

li {
    list-style: square;
    color: green;
    font-weight: bold;
}
Output
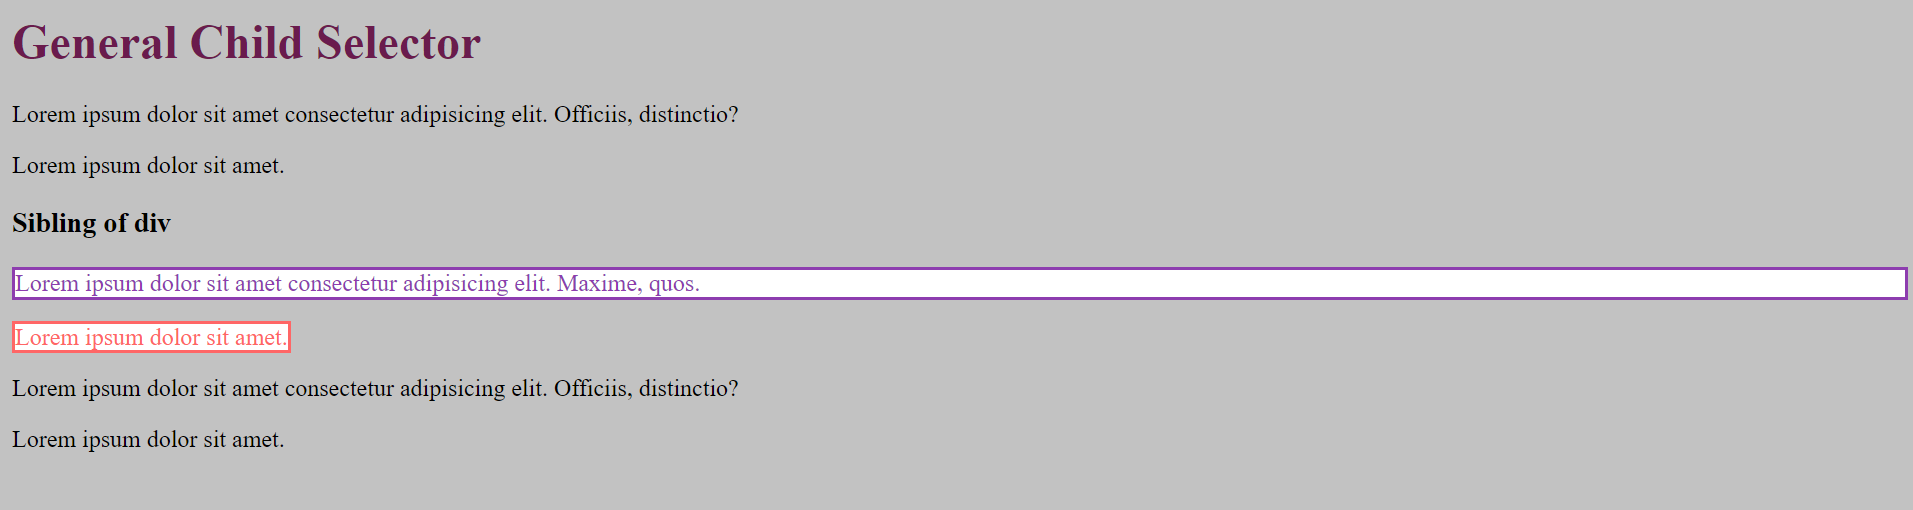
- General Sibling Combinator (~): General Sibling combinator (~) selects all the occurrences of the second(second sibling) element that is following the first(first sibling) element. Both elements should be children of the same parent element.
Syntax
former-element ~ targeted-element { style property }
HTML
    <h1 title>General SiblingSelector</h1>

    <div>
        <p>Lorem ipsum dolor sit amet consectetur adipisicing elit. Officiis, distinctio?</p>
        <span>Lorem ipsum dolor sit amet.</span>
    </div>

    <h3>Sibling of div</h3>
    <p>Lorem ipsum dolor sit amet consectetur adipisicing elit. Maxime, quos.</p>
    <span>Lorem ipsum dolor sit amet.</span>

    <div>
        <p>Lorem ipsum dolor sit amet consectetur adipisicing elit. Officiis, distinctio?</p>
        <span>Lorem ipsum dolor sit amet.</span>
    </div>
CSS
body{
    background-color: #c2c2c2;
}

h1[title] {
    color:#6A1B4D;
}

div ~ p {
    color: #8D3DAF;
    border: 2px solid #8D3DAF;
    background-color: #fff;
}

div ~ span {
    color: #FF6666;
    border: 2px solid #FF6666;
    background-color: #fff;
}
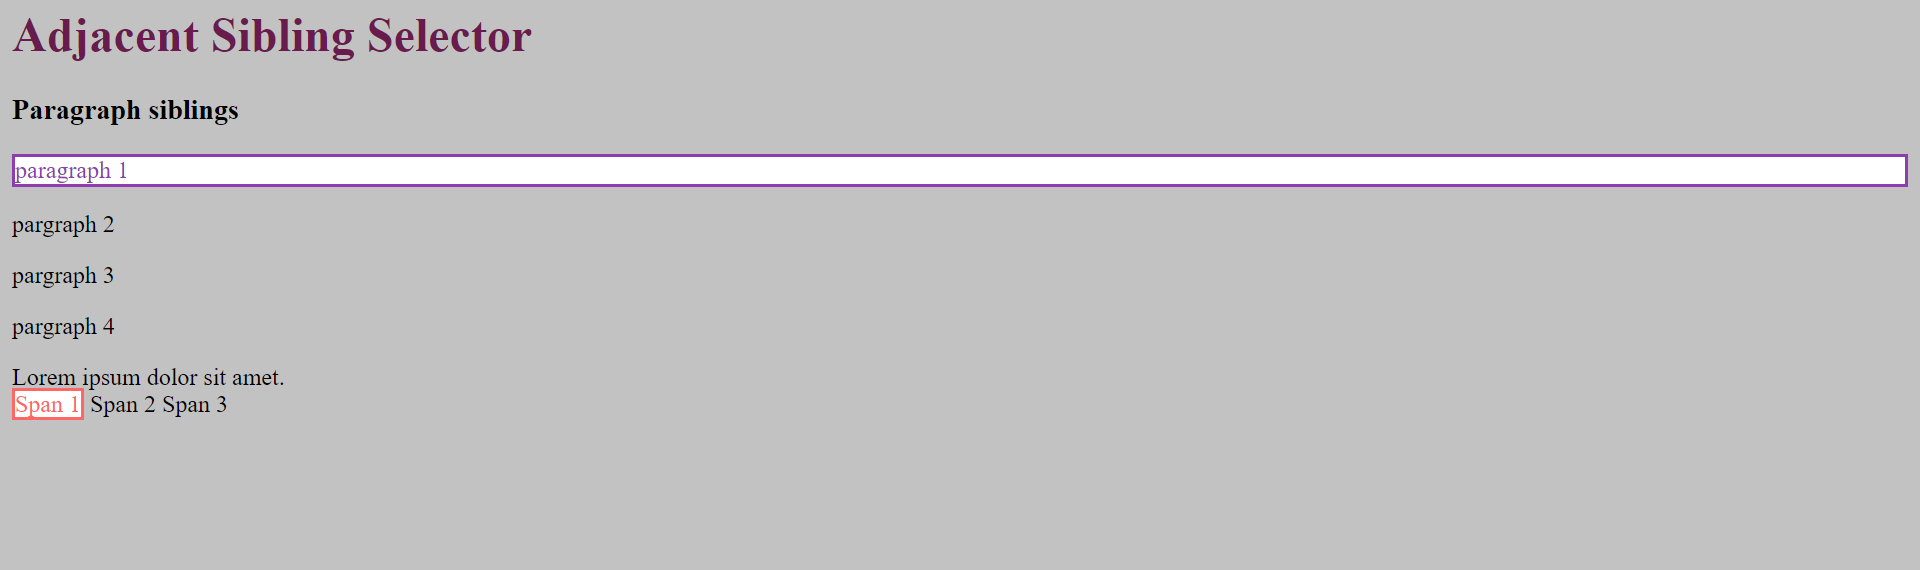
- Adjacent Sibling Selector(+) : Adjacent Sibling Selector(+) selects the first sibling of former-selector. Both former-selector and targeted-selector should belong to same parent. Targeted-selector should be immediate to the former-selector.
Syntax
former-element + targeted-element { style property }
HTML
    <h1 title>Adjacent Sibling Selector</h1>

    <div>
        <h3 class="sibling">Paragraph siblings</h3>
        <p>paragraph 1</p>
        <p>pargraph 2</p>
        <p>pargraph 3</p>
        <p>pargraph 4</p>
        <span>Lorem ipsum dolor sit amet.</span>
    </div>

    <span>Span 1</span>
    <span>Span 2</span>
    <span>Span 3</span>
CSS
body{
    background-color: #c2c2c2;
}

h1[title] {
    color:#6A1B4D;
}

.sibling + p {
    color: #8D3DAF;
    border: 2px solid #8D3DAF;
    background-color: #fff;
}

div + span {
    color: #FF6666;
    border: 2px solid #FF6666;
    background-color: #fff;
}
Output
pseudo elements and pseudo class
Happy learning!
Follow for more articles.
Do tag and share


